The easiest order for working in the editor
The editor is easiest to follow when you move through it in this order:
- Choose a frame
- Arrange the layout in Edit
- Choose the overall color
- Check the finished look in Final look
- Save the design
The tabs are labeled "Edit" and "Final look". The simplest way to think about them is the editing view, the finish color bar for the overall color, and the final review view.
Also note that "Place photo" is only for checking the on-screen look. Photos are not included in saved or ordered output at the moment.
When you open a new blank design for the first time, the editor opens a welcome tour automatically. If you want to revisit it later, open Help in the editor and choose "Start welcome tour".
1. Choose a frame first
Open the "Frames" tab in the left library and choose the base frame before anything else.
- Clicking a frame applies it right away.
- If filters for orientation or size are available, narrow the list first.
- Until a frame is selected, stamp placement and some later actions are harder to use.
If you are unsure, choose one option first and compare later. That is usually the fastest way forward.
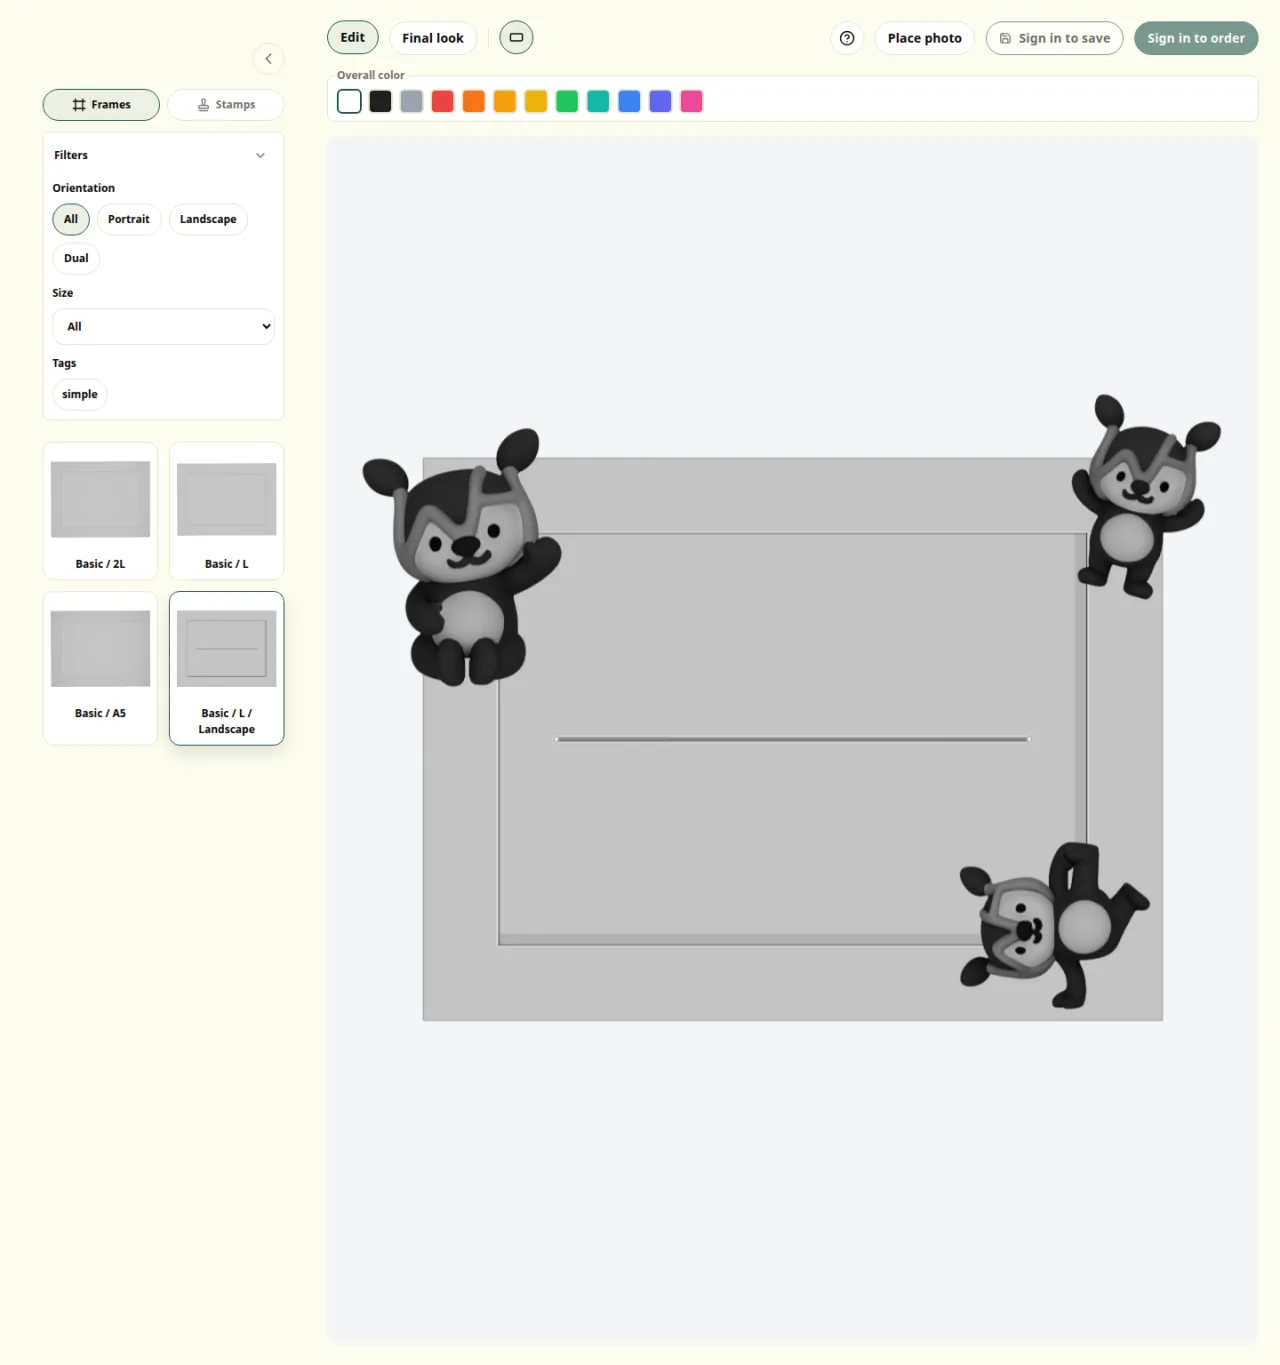
Frame list on the left with filters above it
2. Arrange the layout in Edit
Once the frame is selected, switch to the "Stamps" tab and continue in Edit.
- Select a stamp, then click or tap the canvas to place it.
- Drag a placed stamp to move it.
- Use the corner handles on the selected stamp to scale it, and the top handle to rotate it.
- To delete a stamp, use the trash button for the selected stamp or press Delete / Backspace.
- Right-click, or long-press on touch devices, to open detailed controls where you can enter rotation and width/height values, or delete the stamp.
If you want to adjust what will actually be saved, make those changes in Edit by adjusting the stamps or placement.
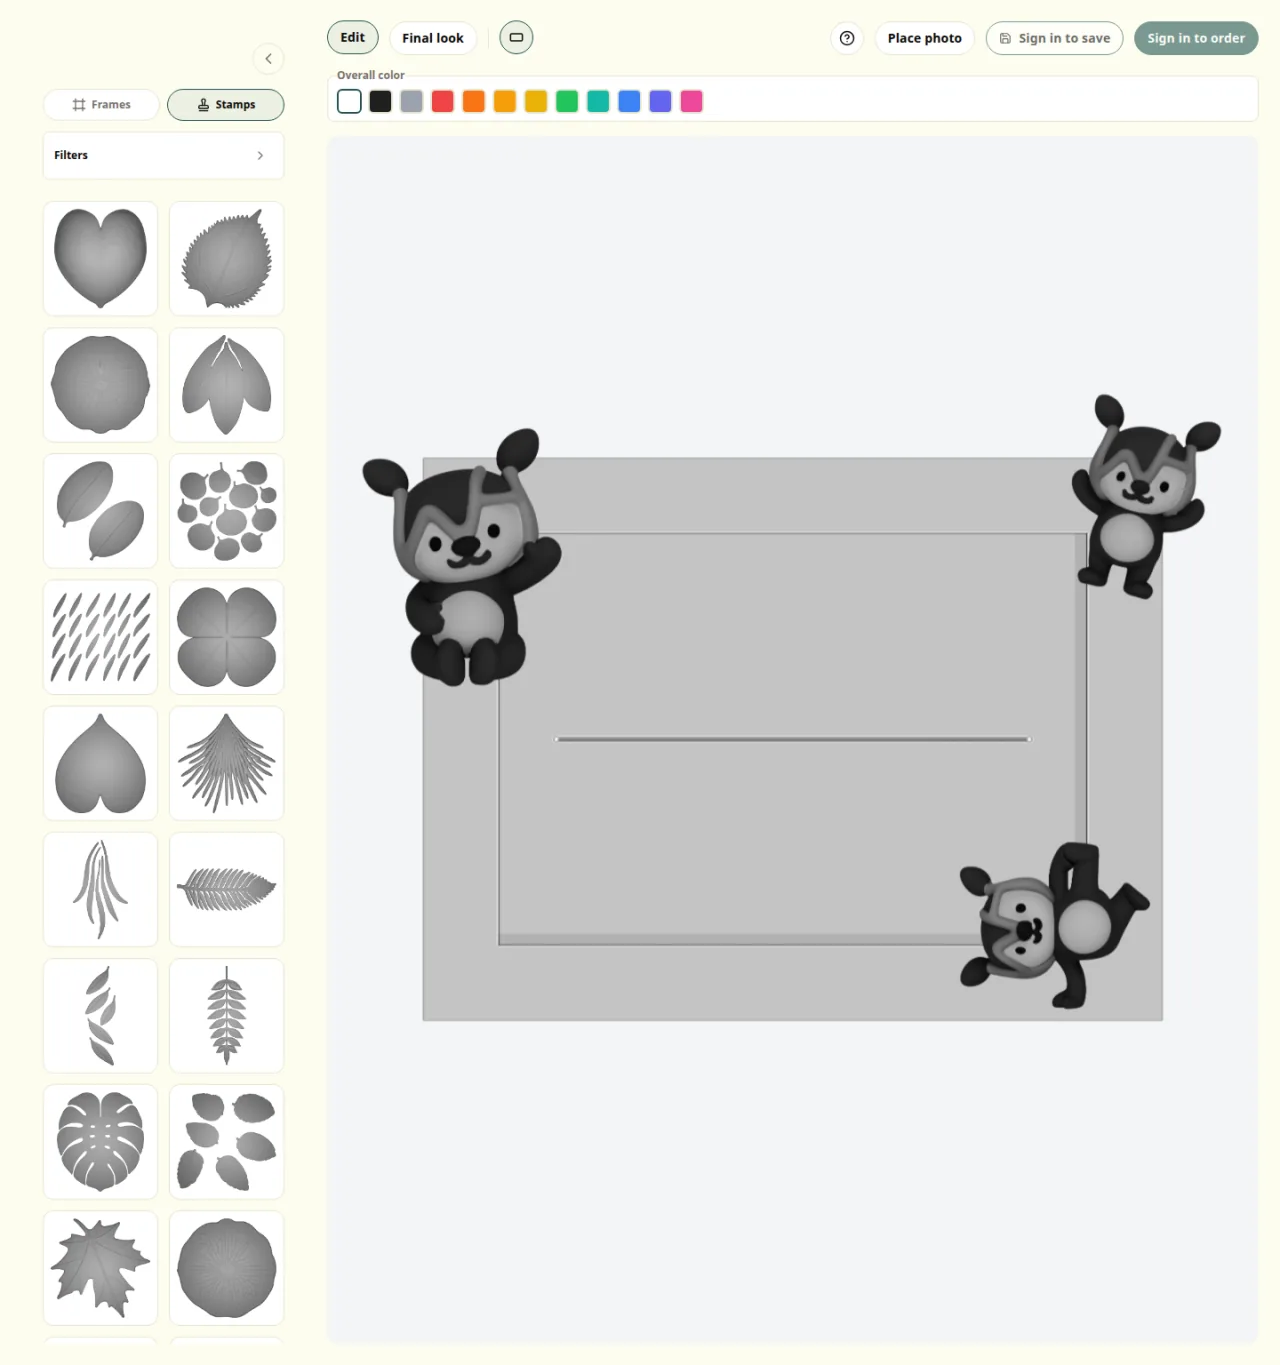
Edit view with the stamp list, photo button, and canvas

Selected stamp with scale handles at the corners

Selected stamp with the rotate handle above it

Selected stamp with the trash button in the bottom action bar
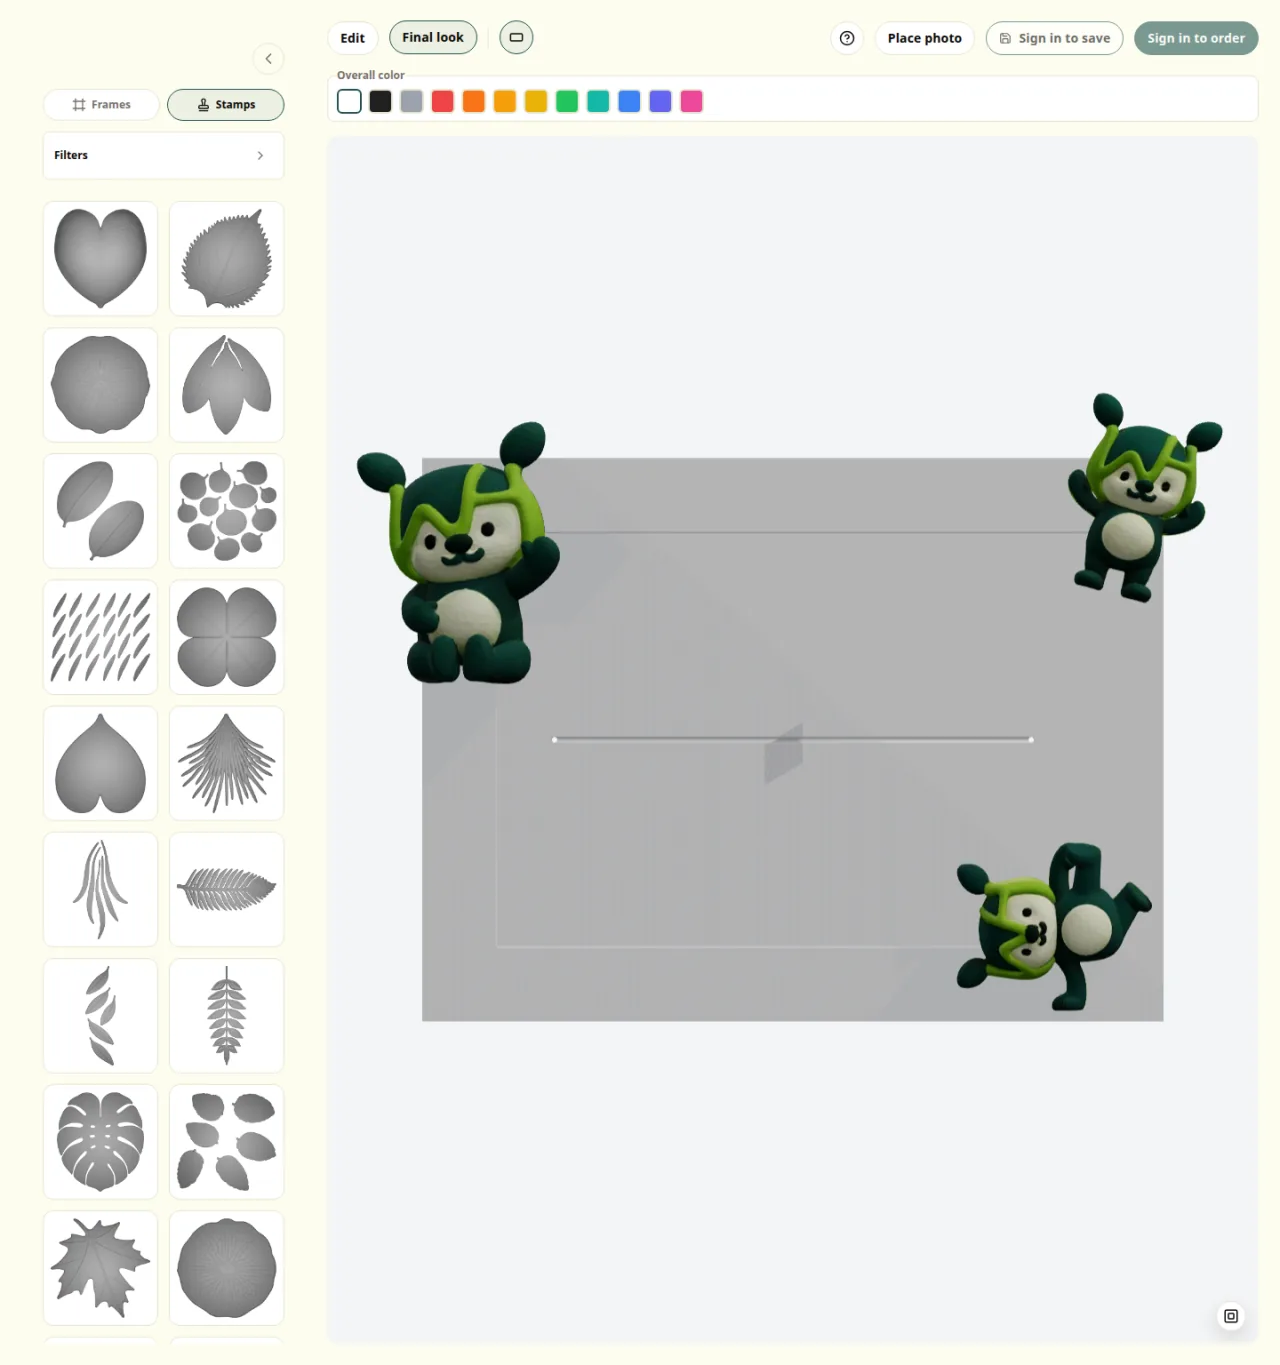
3. Choose the overall color
Once the placement feels right, choose one overall color from the finish color bar above the canvas.
- The selected overall color is saved as the finish for the whole design.
- Supported frame and stamp parts receive the same finish color together.
- Parts that use original material or printed color stay unchanged.
- Per-stamp color changes are not part of the current ordering flow.

Finish color bar that applies one color to supported parts
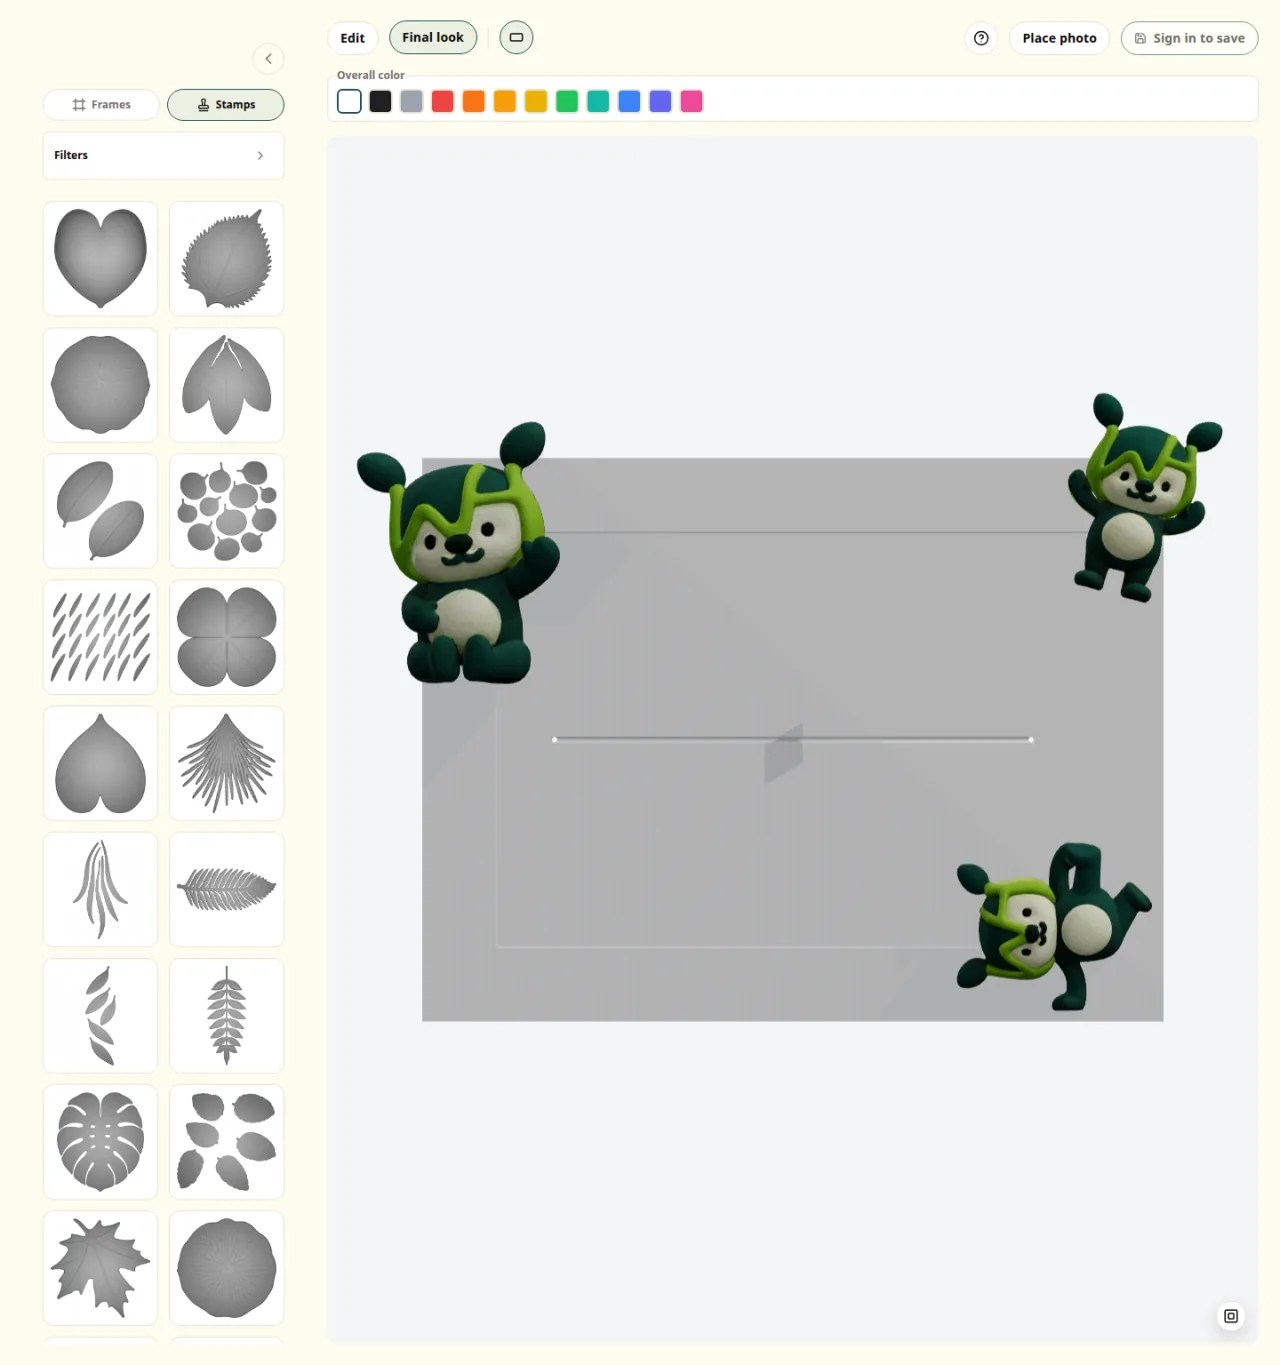
4. Check the finished look in Final look
After the basic placement is ready, switch to "Final look".
- Use Edit for editing and alignment
- Use Final look for balance and the final look
- If the screen offers orientation switches, check both directions before you continue
The smoothest rhythm is to adjust in Edit, review in Final look, and only go back if something feels off.
Editor toolbar with the Edit and Final look tabs
5. Save so you can come back later
When you want to keep the design, use Save in the top right.
- If you are already signed in, you can save right away.
- If you are not signed in, the button appears as "Sign in to save".
- Saved designs can be reviewed later in My Page, and you can continue editing from there.
If you want a clean stopping point before ordering, saving once and reviewing later is usually the safest path. The purchase flow is covered in Ordering and payment.
Editor view with the Save button in the top right
Common sticking points
- If you cannot place a stamp: Check whether a frame has been selected first, then select a stamp and click or tap the canvas.
- If a part does not change color: Some parts keep their original material or printed color. The finish color only applies to supported parts.
- If your photo is not saved: Photos are currently only for on-screen review and are not included in saved or ordered output.
- When to switch to Final look: The best time is after the rough placement is finished and again before saving or ordering.